Ancient Adventures
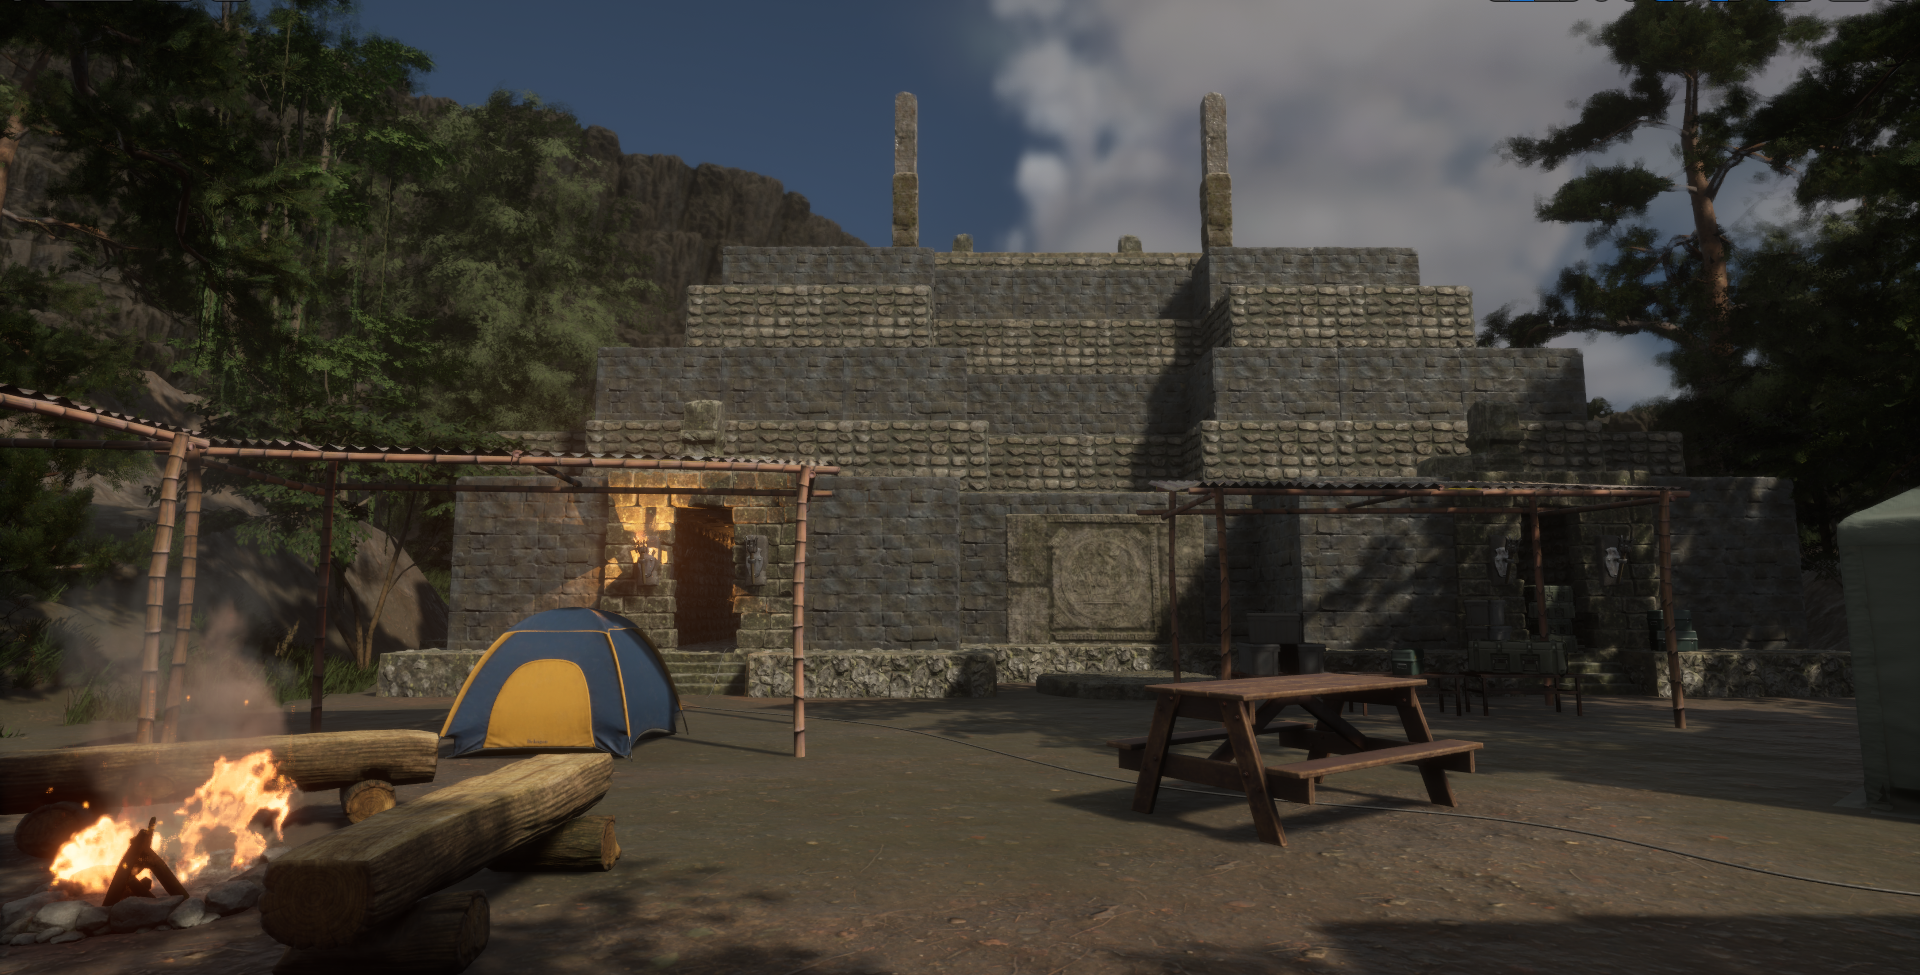
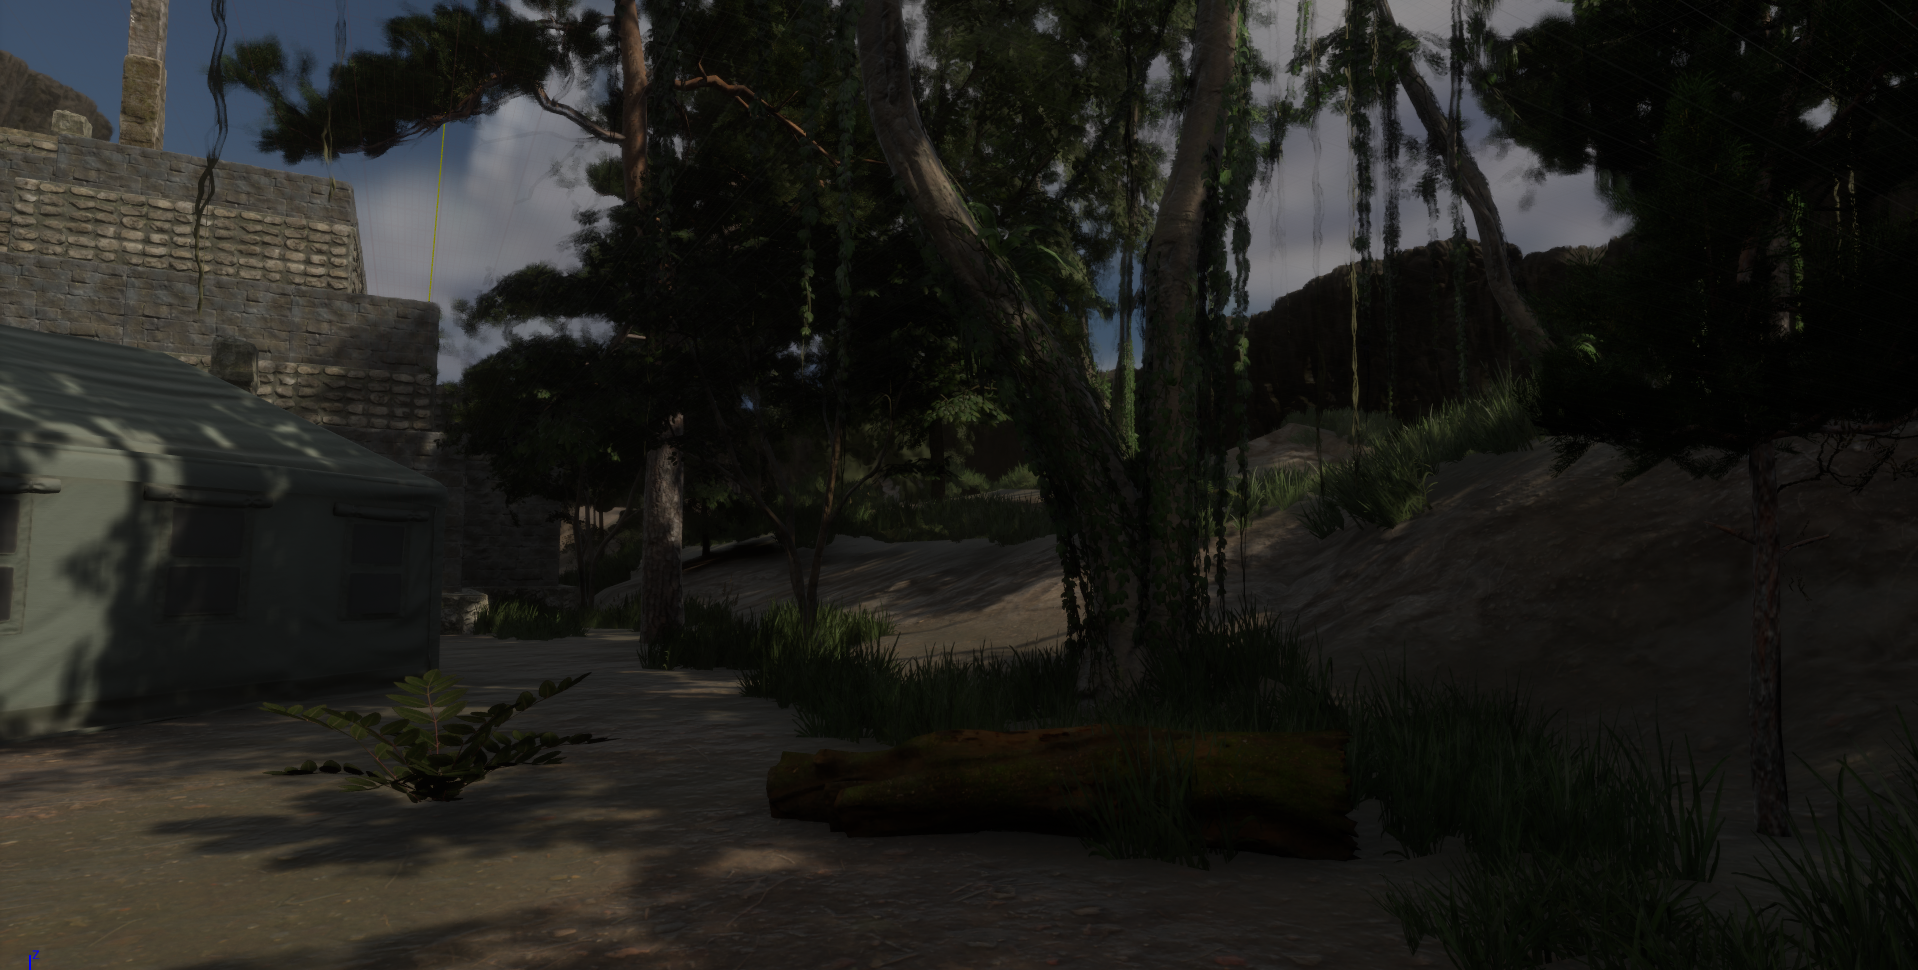
Base camp and temple entrance
Introduction
For my Design 2 class, I had to take my block mesh level from our previous class, Level Design 1, working with a team to create a full game out of our combined levels and generate a launchable game. The main goals of this undertaking were iterating on our level, focusing on verifying our gameplay was sound by performing Alpha testing with other students, adjusting any pain points, alpha testers, the instructor, and myself found while reviewing the level in block mesh, and converting all the block mesh to cohesive assets that aided in telling the story without changing gameplay. Each team began with a pre-built starting and ending section as part of the base project. We had to migrate our levels into the persistent level and create a transition between the end of our level and the start of the next designer’s area. In addition, we had to follow several restrictions on what could be presented in the world to mimic a creative vision received from a game or art director in a studio. The inspiration behind my level was an adventure through an ancient temple where you become trapped in the tomb and have to find the hidden escape tunnel, make it through the tunnel dangers, and cross a partially collapsed bridge over an underground lake.
What Went Right
Actual Communication
At the beginning of the class, two others from a previous class and I asked to work together. Our teaming was approved, and the instructor assigned a fourth team member. Since we had an existing Discord server, we invited the new member there to minimize additional servers and potential distractions. Throughout all of the phases of development, we talked every day, making sure no one locked files other members would need. We also discussed what assets we planned to use to minimize adding multiple similar assets. Due to how well we communicated, the team quickly met all of the assignment requirements, and I uploaded builds every few days to show our progress.

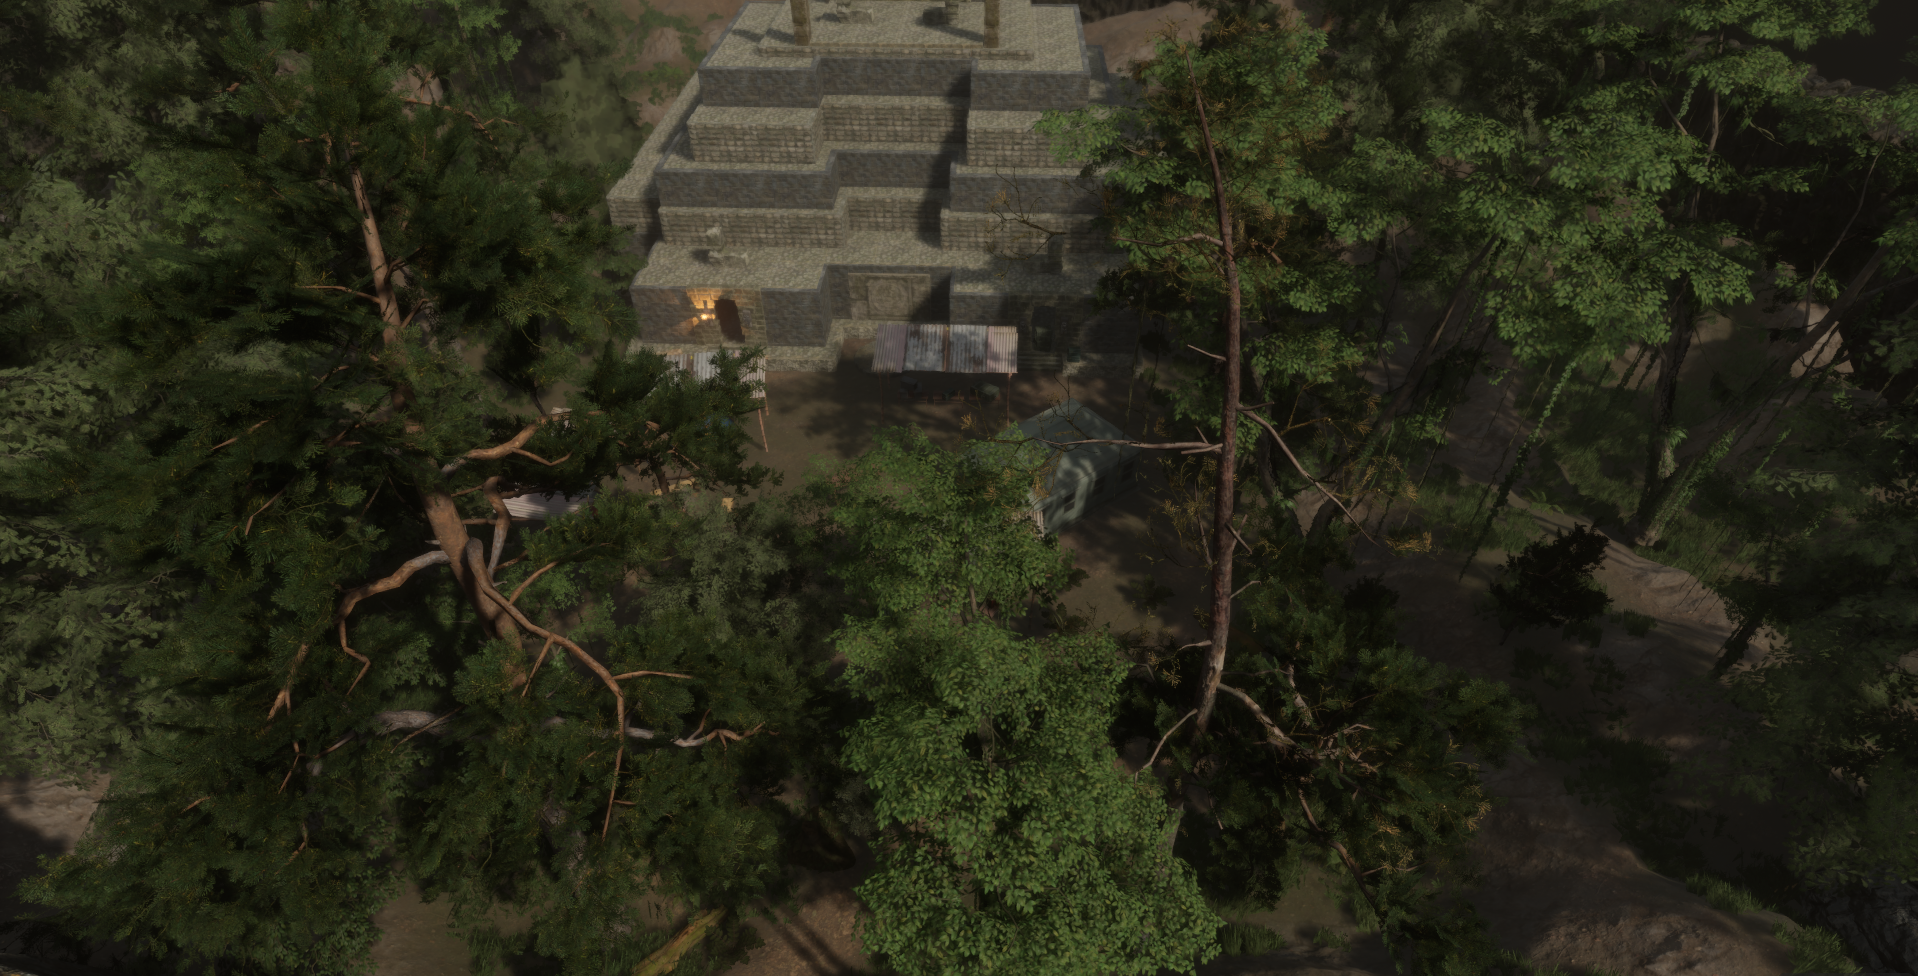
Starting Area from Above
Crafting Landscapes
I wanted to challenge myself by creating landscapes for the exterior parts of my level. Because the campsite used tropical foliage and textures, I could use the landscape material instance as a base for my jungle landscape. I had to create a grass material function to have green sections that did not have foliage generated on top of it. Using that additional grass material, I could add areas around the researcher's camp that looked worn and walked over. I am very proud of how the two regions came out, which aided the aesthetic I was trying to achieve.
A Seamless Transition
Working closely with the next designer in the game, I crafted the exit of my level to transition into his. My level ended at the top of a mountain surrounded by woods with a river flowing into the cave. His level was a ruined city slowly being reclaimed by the wild. To blend these two regions, we placed a river to the side of his starting area, reaching the lake at the end of his level, as well as some of his vegetation on my landscape and some of mine on his. I also sculpted my exit landscape to roll into his pathway, creating a natural leading line between the two.

Exit Transition
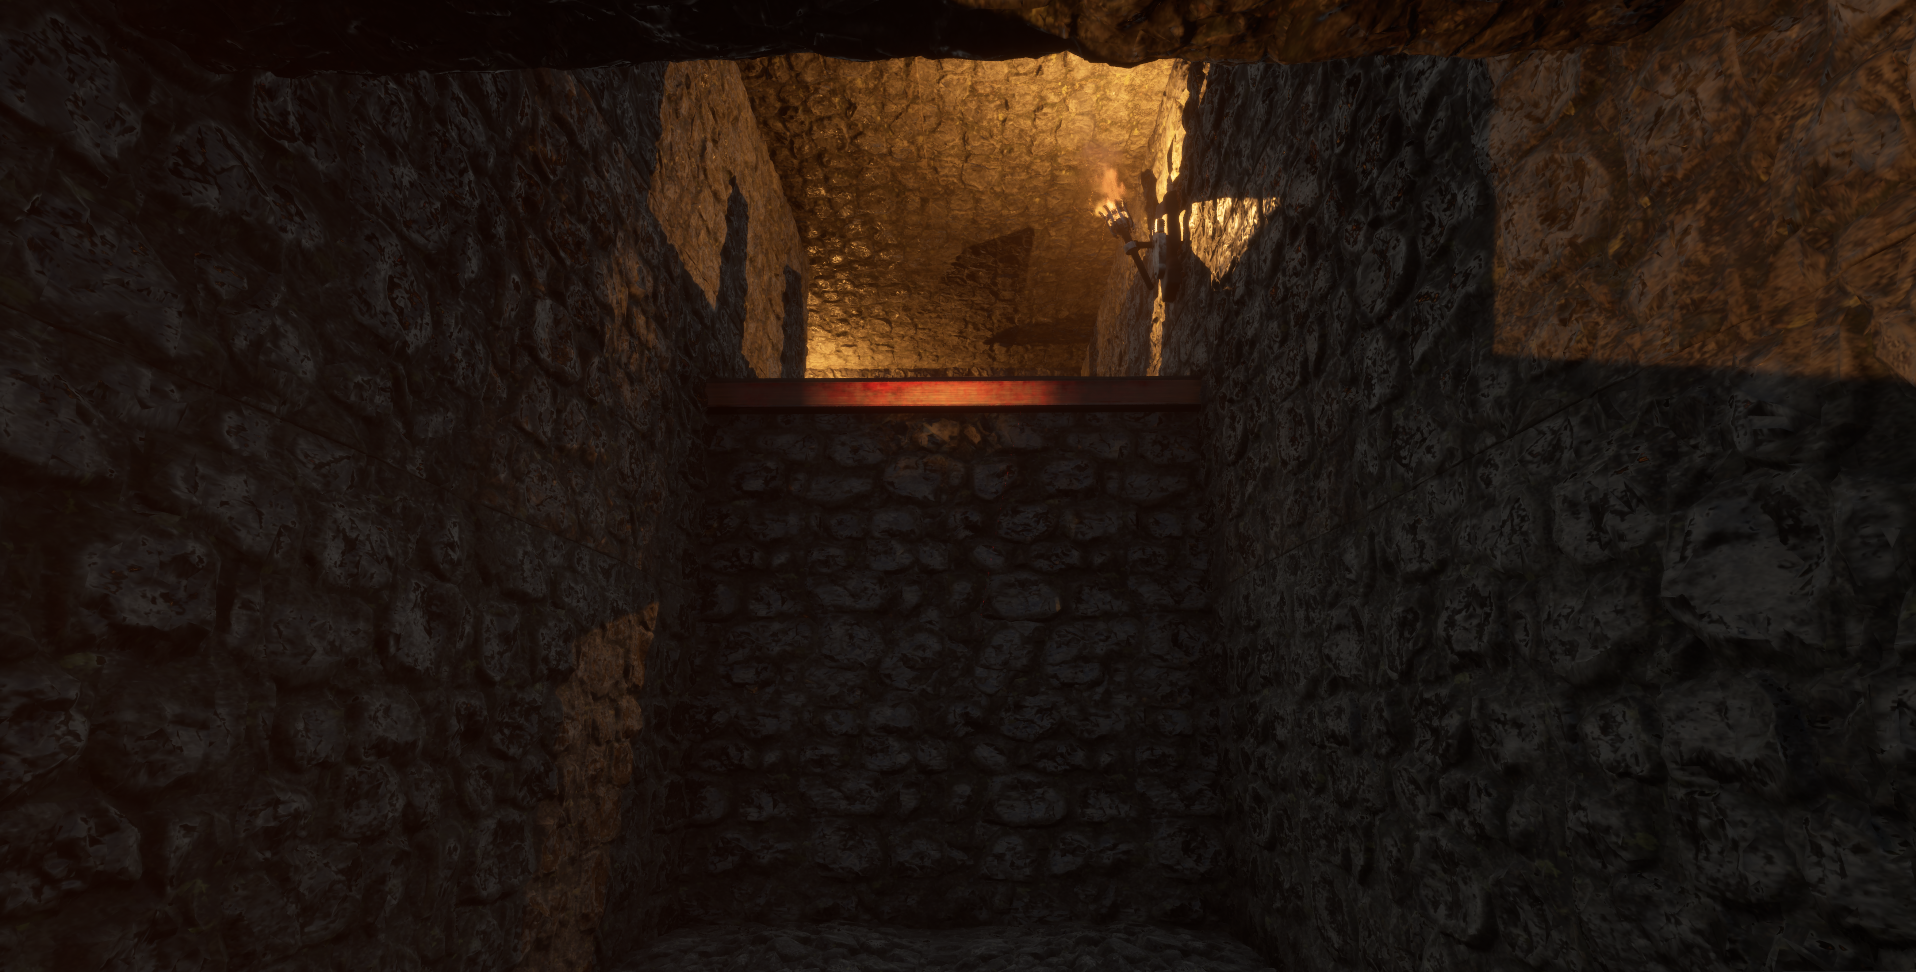
Escape Tunnel
Clipless Confinement
I wanted the escape tunnel to feel confining and dangerous. To achieve that, I built the walls reasonably close with a slightly higher roof to ensure the camera would not clip through and break the immersion. To add to the illusion of a cramped space, I used different angles for the floor and roof where the tunnel ascended and descended. Even though the player ascended several times, I kept the rule of threes in mind to break up the sections. These various sections allowed me to add climbs, jumps, and ramps throughout the tunnel and end with two successive drops that were also a valve to prevent the player from backtracking.
Spline-Based Wires and Ropes
I created a configurable wire blueprint using a spline and two wire meshes. In addition to the two wire sizes, I could select from 5 different ends for the wire. In the constructor, the selected mesh was assigned between each point using the number of points of the spline. Because it was a spline, I could create realistic-looking wires and ropes without custom-making assets for the different wire angles. I also found that the larger wire mesh looked like rope and used it for the rope bridges. The original ropes from blockmesh had collision enabled, causing alpha testers to miss jumps. The spline wire does not have collision, allowing the player to make jumps easier.
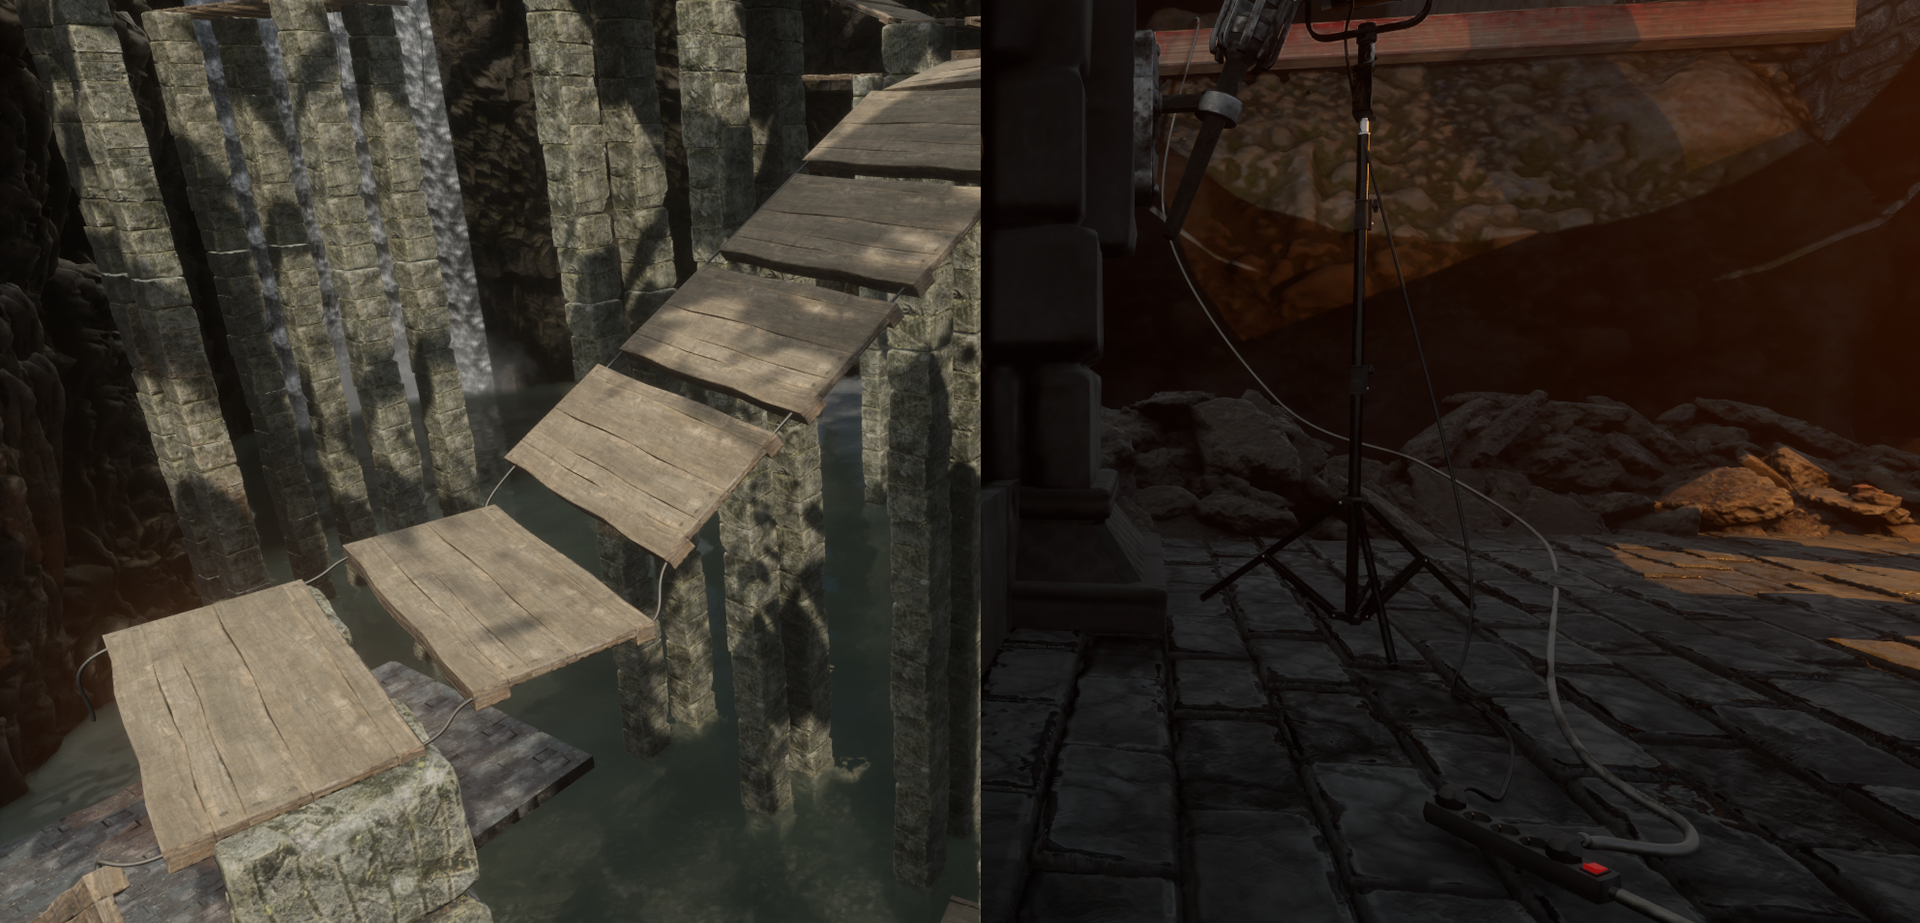
A rope bridge and wires hooked to a spotlight
What Went Wrong

Asset stats after optimization
Textures Over Budget
After all of the team's assets were in place, our build produced an error in places, saying we were over the texture streaming over budget by 1GB - 2GB. By default, Unreal only allows 1GB of textures to stream simultaneously. Many articles recommended addressing this issue by adjusting a setting in the Engine.ini file. That setting controlled how much of the video card virtual memory our game could allocate. Since we were targeting lower memory video cards, our instructor directed that we look at our textures and amount of assets without editing the file. First, I compressed any 2k, 4k, and 8k textures down to 1k, then reduced the amount of foliage and worked to reduce the amount of background assets used in my area. Ultimately, I learned how to use several texture audit tools and optimize a game for lower-end hardware.
Floating Assets from LODs
While building out a landscape that was 500 units by 500 units, I noticed the areas I worked on changing shape when moving away. After some research, I figured out I could set the editor's LOD setting to zero, forcing it to always look at the best quality. However, while playing the game, the LOD would fluctuate, and any foliage added with a brush would appear to float when further away, and it would not look correct till getting close. I then researched how to turn the landscape into a static mesh but found that setting the max LOD to 0 was more performant. While the static mesh of the landscape would use less memory, the texture needed to layer the entire landscape was significantly more complex.
Floating foliage at lower LODs
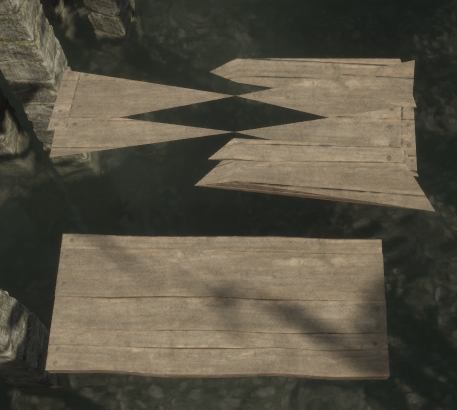
Top: Merged actors into a single static mesh
Bottom: Grouped assets
Merged Actors and Crazy Textures
I tried using several wooden plank assets to create segments when designing the rope bridge in the cave. I merged the actors into a static mesh to make working with the segments easier. However, the single mesh distorted the textures and caused it to look broken and flicker. I decided to group the assets and duplicate the group to create the bridge. Upon reflection, while grouping them worked, I should have created a blueprint instead, allowing me better control of the asset and possibly making variants quickly.
Seeing Alpha Testers Get Stuck
A few players got stuck during alpha testing and needed help figuring out how to proceed through the tomb. The escape tunnel had a decorative picture blocking the way, and the player needed to collect a red and blue gem and socket the blue gem to open the passage. Most players could find both gems, but the statue that required the gems needed to be more prominent. To address this issue, I created a timeline that would flicker the intensity of a point light set in the statue's eye. After this change, all the players noticed the statue and could progress to the next part of the level.
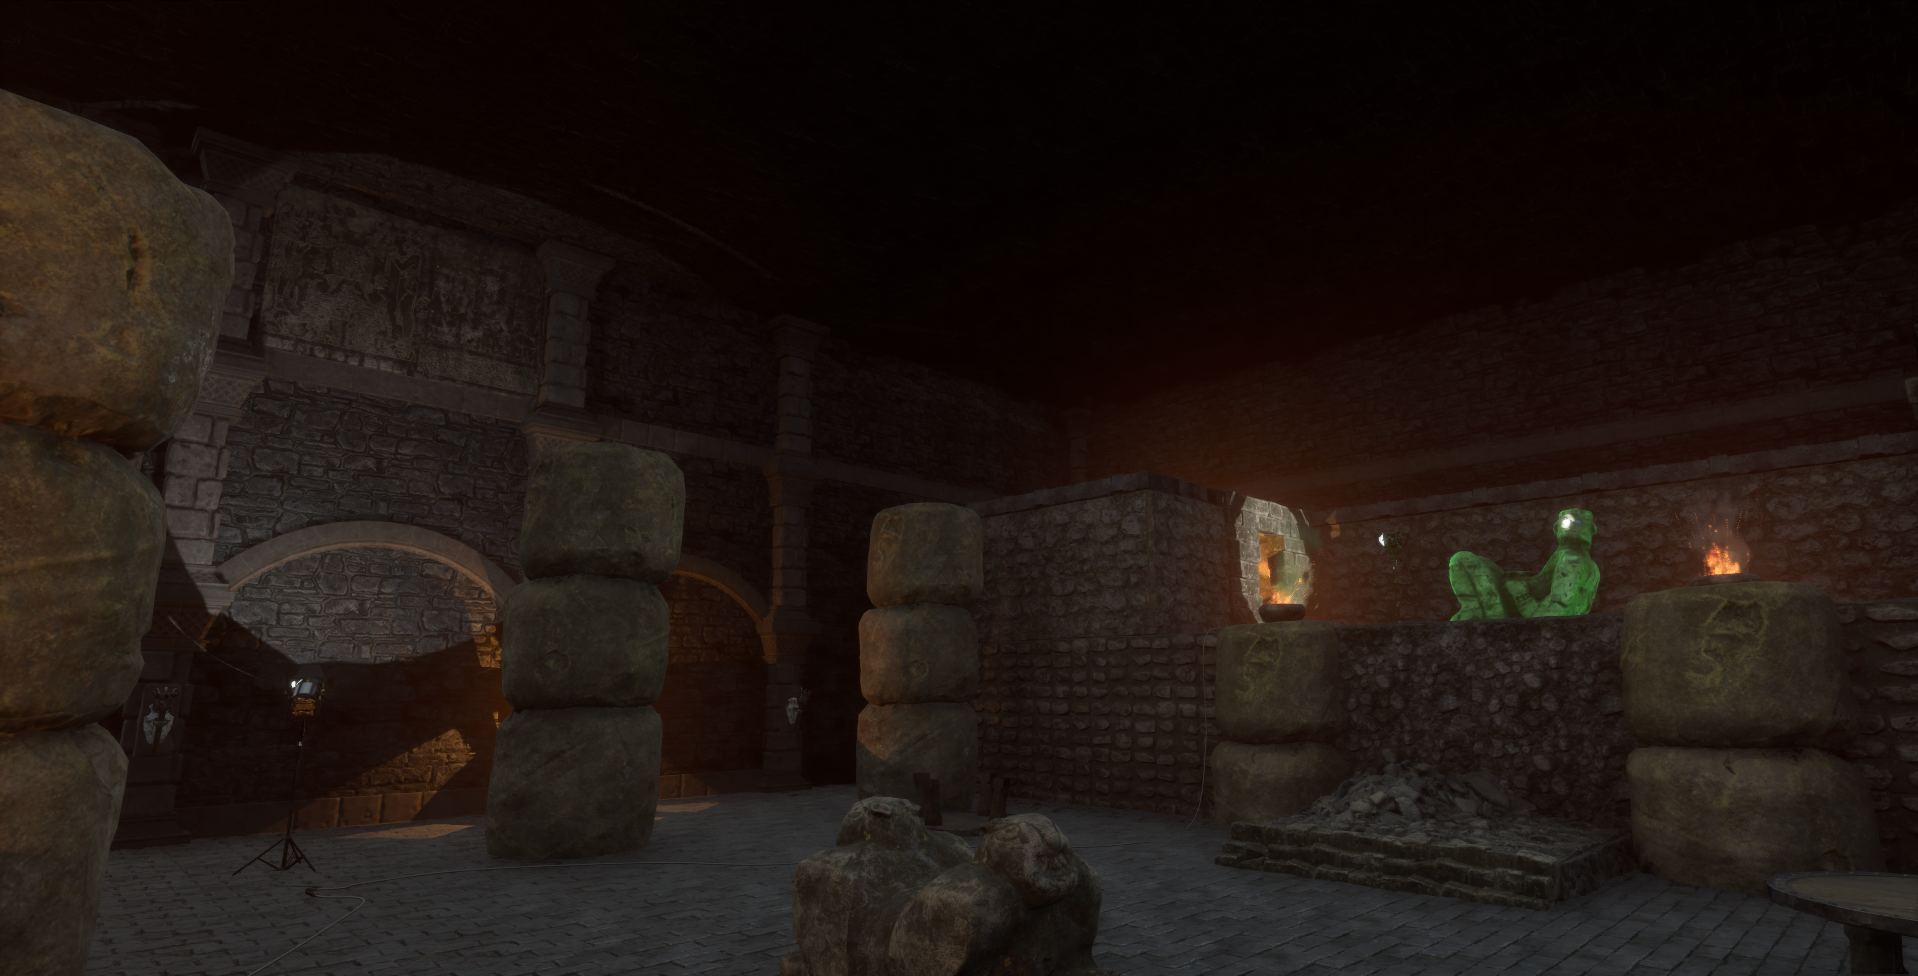
The tomb shows the escape tunnel entrance and statue that requires a gem.
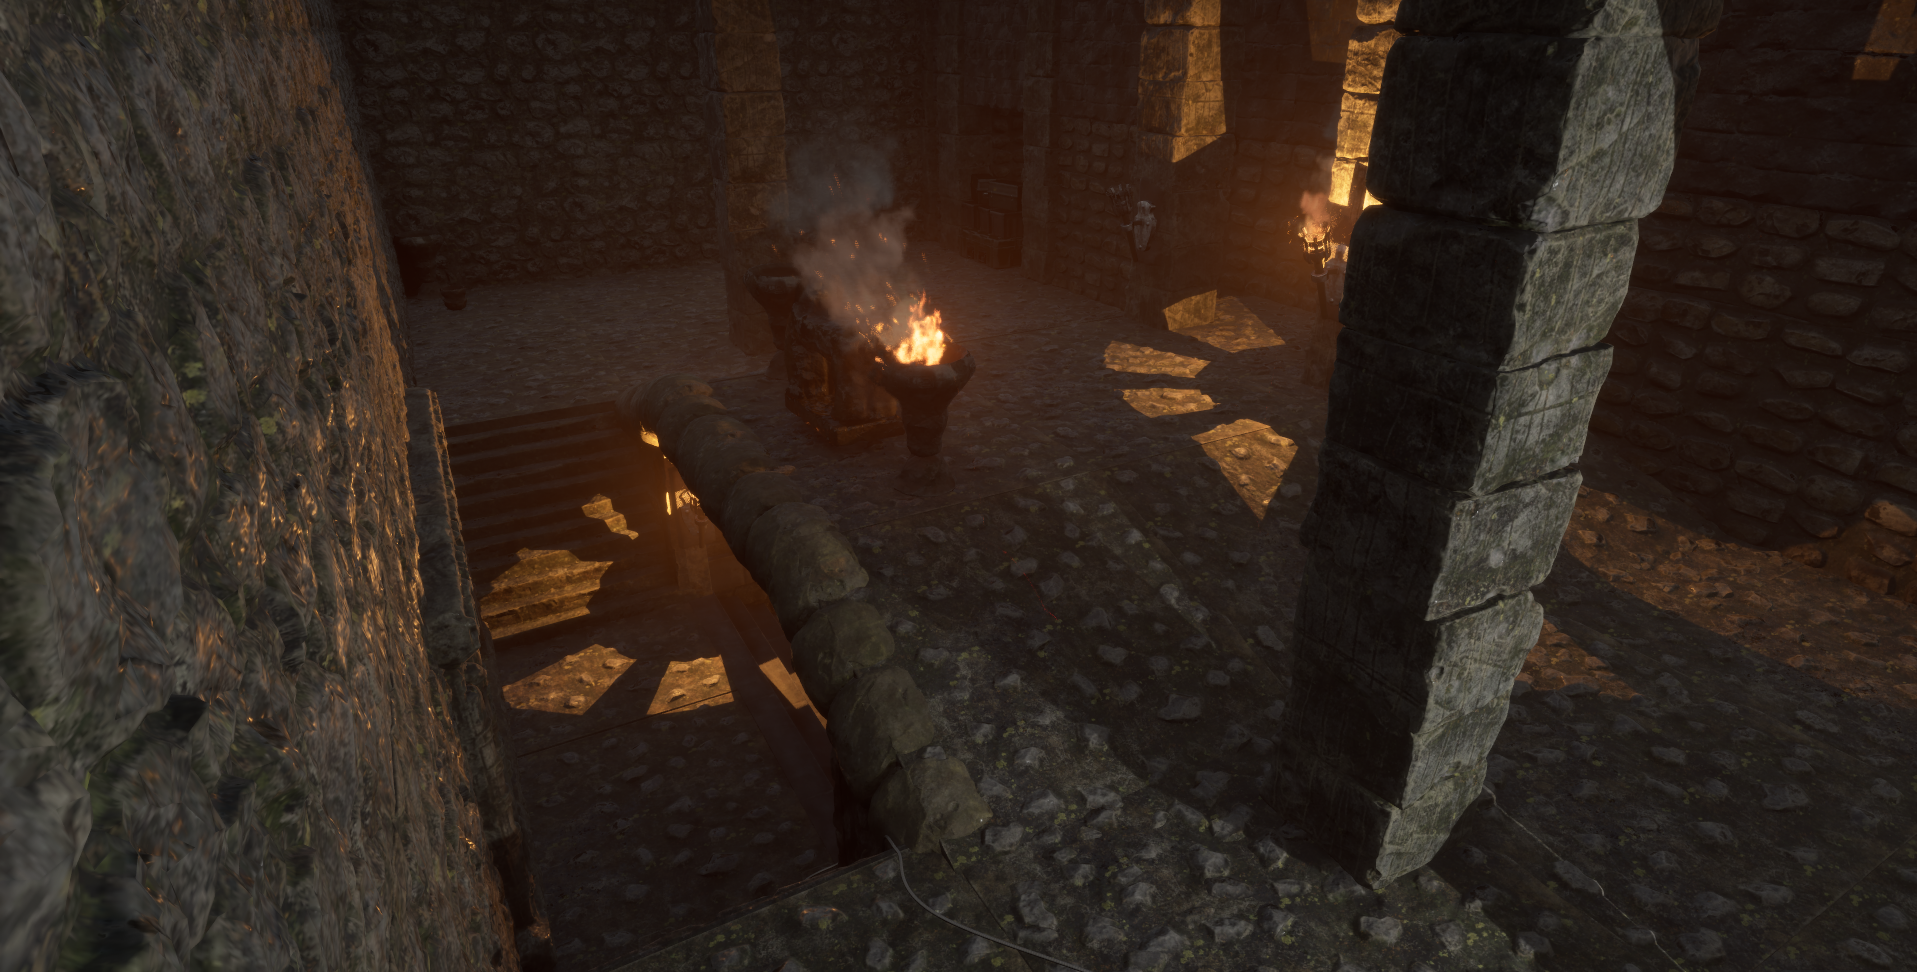
Entrance to the catacombs
For the Want of a Triangle
Working with modular assets can make designing an area a breeze. However, there were a few times when designing hallways and cave entrances where a triangle-shaped mesh would have improved the area's look. Not having triangles allowed me to rethink the design and develop clever solutions. Now, the entrance to the catacombs has a curved-looking arch across the floor. It opened up the ability to decorate in a previously blocked area.
Conclusion
Converting my first whole level from concept to release-ready in only two months was a fantastic experience. I worked with a team and used Perforce as our SCM, which gave me invaluable practice. I have learned much from what went wrong and how to improve it next time. Before this class, I was anxious about transitioning to tangible assets and how it would all look and blend. But seeing how much went well has given me the confidence to continue exploring level design.